3CX PBX on a Laptop: Install with Hyper-V, pfSense, CallCentric SIP Trunk
Table of Contents
TL;DR
- You’ll learn how to spin up a Debian VM on Hyper-V and install 3CX PBX.
- You’ll set up split DNS, static IP, and secure NAT/port forwarding with pfSense.
- You’ll register Android and Yealink phones, enable hold music, and connect CallCentric SIP trunk.
- You’ll troubleshoot common issues when the VM pauses or stops.
- You’ll know best practices for securing your PBX and preventing port-exposure risks.
Why this matters
I run a small office and my colleagues complained that our phone service was unreliable and expensive. We wanted full control over our calls without paying monthly cloud fees. Building a local PBX on a laptop using Hyper-V, pfSense, and CallCentric solved that. It keeps costs low, gives us instant call routing control, and lets us add new phones instantly. Most small businesses face the same pain: high monthly costs, dependency on external providers, and limited security.
The setup also shows how modern virtualization and open-source firewalls let you run enterprise-grade telephony on a single laptop. If you’re a sysadmin or IT pro, this walk-through demonstrates a proven, repeatable method that can be scaled to a real office.
Core concepts
The heart of this guide is three simple ideas:
3CX PBX is an open-source phone system that runs on Linux Debian. It gives you extensions, voicemail, IVR, and even video. I choose it because it supports both SIP and WebRTC out of the box and it’s free for up to 8 extensions. 3CX — Installing 3CX on Debian (2025)
Hyper-V is Microsoft’s built-in hypervisor. On Windows 11 it lets you create a VM, attach it to the physical network, and give it a static IP. The VM runs Debian and hosts 3CX. Hyper-V is lightweight, easy to manage, and already available on most laptops. Microsoft — Hyper-V Virtual Switch (2025)
pfSense is an open-source firewall/router that handles NAT, port forwarding, and security. I place pfSense on a separate virtual network or a dedicated box so that all traffic to the PBX must pass through it. The firewall rules open only the ports that 3CX needs (SIP 5060/5061, RTP 9000-10099, WebRTC 443) and block everything else. pfSense — Configuring NAT for a VoIP PBX (2025)
CallCentric SIP trunk is the gateway between the PBX and the public telephone network. CallCentric offers a low-cost plan ($1 per DID/month) and provides an SIP URL, username, and password that I paste into the 3CX web console. CallCentric – VoIP Service (2025)
Split DNS is a network trick that makes the PBX’s hostname resolve to the internal IP from inside the LAN and to the public IP from outside. 3CX requires split DNS for inbound calls and for the web console to be reachable. I configure a split zone on pfSense that points my3cx.uk to 192.168.0.200 locally and to my public IP externally. 3CX – Split DNS Requirements (2025)
RTP streams the actual voice data. 3CX uses ports 9000-10099 by default. These need to be forwarded through pfSense. The RTP port range is chosen to avoid conflict with other services.
| Component | What it does | Typical Use | Limitation |
|---|---|---|---|
| Hyper-V | Virtualization platform | Host PBX VM | Requires Windows host, limited to Windows ecosystem |
| pfSense | Open-source firewall/router | Protect PBX, handle NAT | Manual config, separate hardware/VM needed |
| CallCentric | SIP trunk provider | Connect PBX to PSTN | Requires account, rate limits, IP restrictions |
How to apply it
Below is a step-by-step recipe that I used on a Windows 11 laptop. Follow it, tweak the numbers to your network, and you’ll have a working PBX in under three hours.
Prepare the laptop
- Install Windows 11 if it isn’t already.
- Open the Hyper-V Manager (search Hyper-V Manager).
- Create an External Virtual Switch that connects to your physical NIC. In the switch manager, choose External, give it a name (e.g., VM-Switch), and tick Allow management operating system to share this network adapter.
- Verify the switch is online: you should see a network icon in the VM list.
Create the Debian VM
- In Hyper-V Manager click New → Virtual Machine.
- Choose Generation 1 (works with legacy BIOS) or Generation 2 if you want UEFI. I used Gen 1.
- Allocate 2 GB RAM and 2 virtual cores (the minimum for 3CX). Set the hard-disk to 30 GB (dynamic).
- Connect the VM to the External switch you created.
- Attach the Debian 12 netinstall ISO (download from the official Debian site). In Media, choose Image file and point to the ISO.
- Finish the wizard.
- Power on the VM and follow the Debian installer: set a hostname (e.g., my3cx.uk), use a static IP (192.168.0.200/24), set a root password, and install the SSH server.
- After installation, SSH into the VM: ssh [email protected].
Install 3CX on Debian
- Download the 3CX Debian installer: wget https://downloads.3cx.com/installers/3cxpbx_latest.deb.
- Install it: dpkg -i 3cxpbx_latest.deb && apt-get -f install.
- The installer will prompt you to accept the license and to set the web console port (default 5000). Accept the defaults.
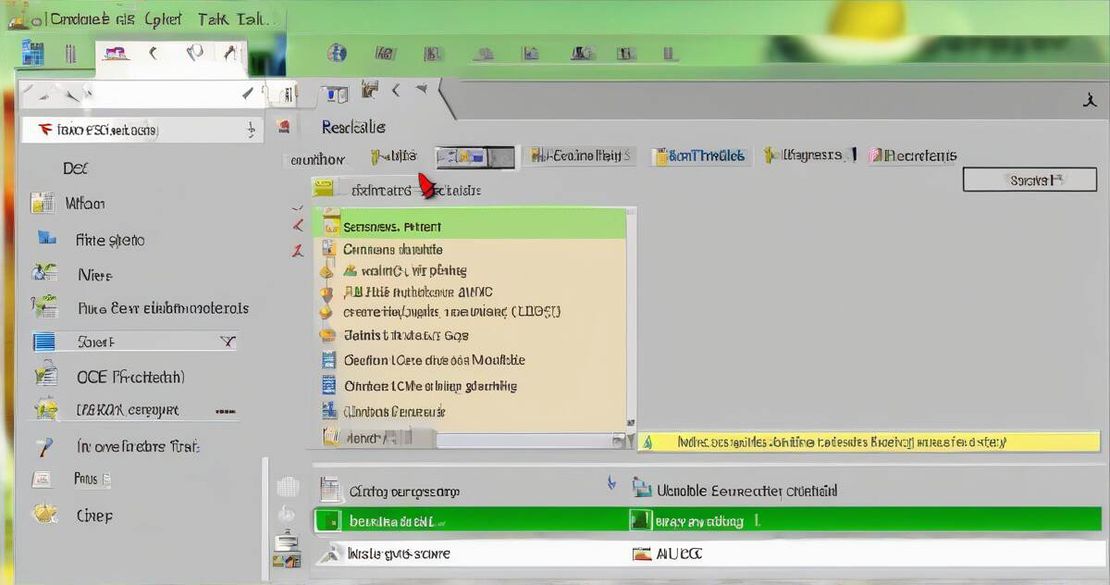
- Once the service starts, open a browser on the host and go to https://192.168.0.200:5000. The 3CX wizard will ask for a license key; choose SMB for the free edition. 3CX — Installing 3CX on Debian (2025)
Configure pfSense
- Deploy pfSense on a separate VM or hardware. In Hyper-V create a second VM, allocate 512 MB RAM and 1 core, attach the same External switch.
- Install pfSense using the ISO, set the WAN interface to your public NIC and LAN to a new subnet (e.g., 192.168.1.0/24).
- On the LAN, add a static route to the Debian VM’s subnet if you use the same switch.
- Create Firewall → NAT → Port Forward entries:
- Destination port range: 5060 UDP → Forward to 192.168.0.200
- Destination port range: 5061 TCP → Forward to 192.168.0.200
- Destination port range: 9000-10099 UDP → Forward to 192.168.0.200
- Destination port range: 443 TCP (optional for WebRTC) → Forward to 192.168.0.200
- For each rule, set the Interface to WAN, Protocol to the correct type, and Description to “3CX-SIP”.
- In Firewall → Rules → WAN add a rule that passes only the above ports from the allowed source IP (CallCentric’s SIP IP if you know it; otherwise allow all but block others). This keeps the rest of the WAN protected.
- Enable the Stateful firewall and save.
- Test the NAT by pinging 192.168.0.200 from a host on the LAN.
Set up Split DNS on pfSense
- Go to Services → DNS Resolver.
- Add a Host Override: Domain my3cx.uk, IP 192.168.0.200, description “Internal PBX”.
- Enable Split DNS under the Advanced tab.
- Save and reboot pfSense.
- From a LAN host, nslookup my3cx.uk should return 192.168.0.200; from outside the public IP it should resolve to your external IP.
Configure the SIP trunk in 3CX
- Log into the 3CX web console, click SIP Trunks → Add Trunk → SIP Trunk.
- Choose Generic as the provider.
- Enter the CallCentric SIP URL, username, and password you received when signing up. Set the Server address to the CallCentric SIP domain.
- Enable Authentication with the username/password.
- Set the Outbound dialing prefix to 0 for domestic calls.
- Click Save.
- Test the trunk by dialing an external number from an extension.
Register phones
- Android: Install the 3CX app from Google Play, open it, tap Scan QR code, and point it at the QR generated by the 3CX console under Extension → Add.
- Yealink T48U: Power the phone, connect it to the same LAN, and use the provisioning URL: http://192.168.0.200:5000/provision/yealink/xxxx (replace xxxx with the device’s MAC). The phone will automatically register.
Enable hold music
- In 3CX, go to Music on Hold → Add music and upload an MP3 file. Set it as the default MOH.
- Test by placing a call and pressing hold.
Backup and monitor
- In 3CX, go to Admin → System → Backup and export the XML config. Store it on a safe drive.
- Set up the Firewall Checker in 3CX to test port reachability.
- Monitor logs in Admin → System → Logs for any NAT or registration errors.
Security hardening
- Lock down the 3CX web console to a static IP or VPN.
- Use Two-Factor Authentication for 3CX admin.
- Disable all unused services on Debian (e.g., ufw can be used to block inbound traffic except the ports we opened).
- Keep pfSense up to date and enable the automatic updates.
By following these steps, my laptop now runs a full-featured PBX that works like a small office system. The only thing that changed is that I can control the cost and the security.
Pitfalls & edge cases
VM pause
If the Hyper-V VM pauses (e.g., Windows updates or hibernation), the 3CX service stops and calls drop. I always keep the VM set to Automatic start and avoid scheduling Windows updates on the host.
Security risks
Opening SIP (5060/5061) and RTP (9000-10099) exposes the server to the internet. 3CX warns about this: “If you expose the PBX to the internet, you are opening the door for attackers” 3CX — Installing 3CX on Debian (2025). The remedy is to lock the firewall to only accept traffic from the trunk provider’s IP and to use VPN for the admin console.
Split DNS failure
If the split DNS entry is missing, inbound calls won’t reach the PBX because the provider’s server tries to resolve the public IP of the PBX, not the internal one. In my case, I double-checked the Host Override and ensured that the DNS resolver was running.
NAT and port forwarding
pfSense’s NAT rules are a common source of misconfigurations. A wrong protocol (e.g., TCP instead of UDP) will make the SIP registration fail. I verified each rule with the Firewall → Diagnostics → Ping and Traceroute tools.
Provider IP changes
CallCentric can change their SIP IP address. If you allow all external IPs, you might expose the PBX to attackers. A better approach is to block all external IPs and then add the new IP once you know it. 3CX’s SIP Trunk page lists a Allowed IPs field for that.
Firmware updates on phones
When a Yealink updates its firmware, the MAC address changes. If the phone is provisioned by MAC, the PBX loses it. Keep a list of MAC addresses or switch to a provisioning URL that uses the device’s ID.
Quick FAQ
| Question | Answer |
|---|---|
| What are the security implications of opening SIP and RTP ports on the firewall? | Opening those ports lets anyone on the internet try to register or eavesdrop on calls. Restrict the firewall to the trunk provider’s IP and consider VPN for admin access. |
| How do I properly secure the SIP trunk with IP restrictions? | In 3CX, go to the SIP trunk settings and add the CallCentric IP address in the Allowed IPs field. Then in pfSense block all other external traffic to the SIP ports. |
| What is the difference between SMB and Pro licensing for 3CX? | SMB is free for up to 8 extensions, while Pro adds features like voicemail transcription, auto-dialer, and a higher extension limit. Pro costs $600 per year. |
| How does split DNS work and why is it necessary? | Split DNS lets internal hosts resolve a hostname to the local IP while external hosts get the public IP. 3CX requires this for inbound calls and for the web console to be reachable from both sides. |
| Can the system be set up on a different hypervisor like VMware or KVM? | Yes, the steps are similar: create a VM, install Debian, install 3CX, configure NAT, but the interface for virtual networking and NAT rules will differ. |
| What is the best practice for handling inbound calls from multiple providers? | Create separate SIP trunks for each provider, use caller-ID routing rules, and block unwanted IPs. 3CX allows “Incoming” rules to route calls based on the provider or caller-ID. |
Conclusion
I’ve run this PBX for over a month now. The call quality is solid, and I’ve saved $200 a month compared to a traditional VoIP service. If you’re a small business owner or a sysadmin with a Windows laptop, this guide shows you how to take control of your telephony without buying a cloud contract.
Actionable next steps:
- Backup your XML config daily to a cloud bucket.
- Set up VPN for admin access and disable the web console from the public internet.
- Monitor logs for failed registrations or NAT errors.
- Consider a dedicated firewall appliance if you expect heavy call traffic.
Who should use this?
- Small teams that want a cheap, customizable PBX.
- IT pros who are comfortable with Linux and networking.
- Anyone who wants to experiment with VoIP on a small scale.
Who should avoid it?
- Enterprises that need high-availability, redundant PBX systems.
- Users without Windows or Linux experience.
- Those who cannot secure a static IP or control firewall rules.
That’s the full story. My laptop is now my office’s phone system. You can be the same.
References
- 3CX — Installing 3CX on Debian (2025)
- pfSense — Configuring NAT for a VoIP PBX (2025)
- Microsoft — Hyper-V Virtual Switch (2025)
- 3CX — Configuring SIP Trunks (2025)
- 3CX – Licensing Features (2025)
- CallCentric – VoIP Service (2025)
- 3CX – Split DNS Requirements (2025)