Learn how to turn a Raspberry Pi into a headless Wi-Fi packet capture device with PoE, multi-adapter support, a Flask web UI, and VPN access. Step-by-step guide.
I Built a Raspberry Pi Wi-Fi Packet Capture Device with PoE, Multi-Adapter Support, and a Web UI
Published by Brav
Table of Contents
TL;DR
- I started with a Raspberry Pi 4 and a PoE HAT to keep it headless.
- I installed tcpdump, tshark, dumpcap, and screen for capture and persistence.
- Dumpcap lets me snap packets from several USB Wi-Fi adapters at once.
- A Flask web UI, served by gunicorn, lets me set channels, dwell time, and download files.
- SSH, a mobile hotspot, or a WireGuard VPN give me remote control.
Why this matters
I remember the first time I tried to sniff a ZigBee network on a cheap Raspberry Pi. The adapters would drop packets, and every time I switched the Wi-Fi channel I got gaps that made analysis impossible. The same frustration happens to many hobbyists, engineers, and security researchers: they want a cheap, headless device that can capture on 2.4 GHz, 5 GHz, and the new 6 GHz band, but they’re stuck with a single adapter or manual SSH sessions that break when the terminal disconnects. By turning a Pi into a dedicated capture box, I eliminated those gaps, automated the file rotation, and exposed a simple web UI that anyone on the network can use. This turns the Pi into a mobile, PoE-powered, always-on sniffing station.
Core concepts
The architecture is split into three layers:
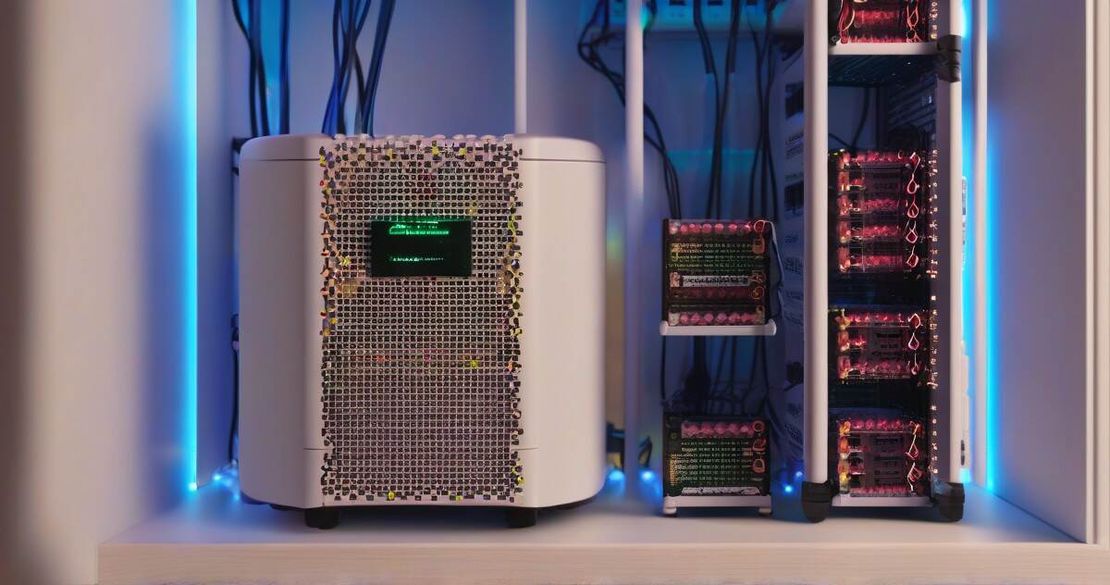
Hardware – A Raspberry Pi 4 or Zero 2W, a PoE HAT for power, and multiple USB Wi-Fi adapters that support monitor mode. The adapters become wlan0mon, wlan1mon, etc. This gives me a clean separation between the control interface (the Pi’s built-in Wi-Fi) and the capture radios. I used the official Raspberry Pi — PoE HAT Documentation (2025) to verify the power draw and cable type.
Capture engine – I rely on dumpcap because it is the low-level packet sniffer that Wireshark ships with, and it can write to pcapng files while staying in the kernel. Dumpcap’s manual says it supports multiple interfaces by passing the -i flag repeatedly, which is exactly what the repo does. I also keep tshark around for quick live decoding, and tcpdump for quick one-off filters. The Wireshark — dumpcap Manual (2025) shows the -I option for monitor mode and the -b options for rotating files.
Control plane – A Python virtual environment in /opt/capture/python runs a Flask app that exposes a static page on port 5000. The app is served by gunicorn, so it can handle concurrent requests without blocking. The Flask — Documentation (2025) and gunicorn — Documentation (2025) are the basis for this layer. The web UI lets me pick channels, dwell time, and start or stop captures. All files land in /opt/capture, and a simple file-list endpoint gives me download links.
Below is a quick comparison of the capture tools I use. Each has a niche, and the repo chooses the right tool for each job.
| Capture Tool | Use Case | Limitation |
|---|---|---|
| dumpcap | High-performance capture from multiple interfaces | Requires libpcap, limited filtering |
| tshark | Live decoding, output to file | Slower than dumpcap |
| tcpdump | Simple packet dump, filtering on the fly | Single interface only |
How to apply it
Follow my playbook step by step. I’ll keep the language simple and insert inline tips. All commands are run as the pi user; I’ll switch to root only where needed.
Prepare the Pi
sudo apt update && sudo apt full-upgrade -y
sudo apt install python3-venv python3-pip wireguard
Enable SSH in raspi-config or by dropping an empty file named ssh into /boot. I keep SSH enabled because I rarely have a monitor on the Pi.
Install capture tools
sudo apt install tcpdump tshark wireshark-common
sudo apt install screen
The Wireshark common package pulls in dumpcap. I verify it exists with dumpcap -h.
Plug in the adapters Attach two or three USB Wi-Fi dongles that support monitor mode. Plug one into the Pi’s first USB, another into the second. The OS will auto-create interfaces like wlan0, wlan1. I run sudo iw dev wlan0 set monitor control and sudo iw dev wlan1 set monitor control to enable monitor mode. The dumpcap manual shows the -I flag for monitor mode, so I know it’s the right command.
Create the capture directory
sudo mkdir -p /opt/capture
sudo chown pi:pi /opt/capture
The repo stores everything under /opt/capture; I keep that convention for consistency.
Clone the repository
cd /opt
git clone https://github.com/CWNE88/linux-web-based-wi-fi-capture.git capture
cd capture
The repo contains the Flask app, the systemd service, and configuration files. It also holds the capture_service script that launches dumpcap with the correct options.
Set up the Python environment
python3 -m venv python
source python/bin/activate
pip install -r requirements.txt
The venv documentation explains the isolation. See the Python — venv Manual (2025).
Edit the configuration The file config.py holds defaults. I change CHANNELS to [‘2.4G’, ‘5G’, ‘6G’] and set DWELL to 200. The repo’s README explains that a dwell of 200 ms balances coverage without starving any channel.
Configure systemd The service file /etc/systemd/system/capture.service looks like this:
[Unit]
Description=Wi-Fi packet capture service
After=network-online.target

[Service]
Type=simple
WorkingDirectory=/opt/capture
ExecStart=/opt/capture/python/bin/python capture_service.py
Restart=always
User=pi
I reload and enable it:
sudo systemctl daemon-reload
sudo systemctl enable capture
sudo systemctl start capture
The systemd — systemd.service Manual (2025) documents the After and Restart directives.
Use screen for long captures If I want to start a capture manually, I open a screen session:
screen -S capture
./capture_service.py start
Screen keeps the process alive if my SSH disconnects. The Screen — Man Page (2025) shows how to detach and reattach.
Interact via the web UI I open http://
:5000 on any browser. The UI lists current channels, dwell, and file links. I can start/stop captures and download the latest .pcap file. Files are named capture_1.pcap, capture_2.pcap, etc. I keep the static files under /opt/capture/static.Set up VPN for secure remote access The repo recommends WireGuard. I generate keys, create a wg0.conf, and add a peer for my laptop. Once the VPN tunnel is up, I can access the Pi from anywhere.
Power it with PoE I plug the PoE HAT into the Pi and connect a PoE switch. The Pi boots immediately, the service starts, and the capture continues – no keyboard, no monitor, no cable.
Rotate files automatically The repo’s capture_service.py uses dumpcap’s ring-buffer options (-b filesize:100M) to split captures into 100 MB chunks. I can change the size in the config file.
Analyze the pcap files On the Pi itself, I run tshark -r capture_1.pcap -Y http -T fields -e ip.src -e http.host > http.log. The Wireshark — tshark Manual (2025) explains the syntax. For deep analysis, I copy the file via scp pi@
:/opt/capture/capture_1.pcap ~/Downloads/ .
Pitfalls & edge cases
- Permission issues – tcpdump needs CAP_NET_RAW, so I either run the service as root or add pi to the netdev group.
- Adapter driver quirks – Some cheap dongles drop packets in monitor mode; I verify with iw dev
info . - Channel hopping gaps – If I rely on software channel hopping, packets can be lost during switch. Using multiple adapters eliminates this.
- File size limits – On a Pi Zero, the SD card speed can become a bottleneck; I keep file sizes small and use -b filesize to rotate.
- VPN latency – The web UI can lag if the VPN is slow. I test locally first.
- Power draw – The PoE HAT can only supply up to 15 W. With multiple adapters I stay below that; otherwise I add a UPS.
- Legal considerations – In many jurisdictions it is illegal to sniff Wi-Fi traffic without consent. The repo includes a README note reminding users to comply with local law.
Quick FAQ
How do I configure dumpcap for multi-interface capture? Add -i wlan0 -i wlan1 -i wlan2 to the command line. The manual confirms the -i flag can be repeated. See Wireshark — dumpcap Manual (2025).
What dwell time should I use? 200 ms is a good balance for most environments; 1 s gives a cleaner snapshot but can miss short bursts.
How many Wi-Fi adapters can I run simultaneously? The Pi 4 has four USB ports; you can use up to four adapters. The Zero 2W has two, but you can use a hub.
Can I set up a VPN for remote control? Yes, WireGuard is the simplest. Add a peer in /etc/wireguard/wg0.conf and enable the service.
Will this work on a Pi Zero 2W? Absolutely, but use a lightweight capture and smaller ring buffer.
How do I rotate capture files automatically? Use dumpcap’s -b filesize:100M or -b files:10 options in the service script.
How do I enable monitor mode on my Wi-Fi adapter? sudo iw dev
set monitor control and bring the interface up with sudo ip link setup .
Conclusion
By following this guide, you’ll have a reliable, headless Wi-Fi packet capture system that runs on a cheap Pi, stays powered by PoE, and gives you a web UI and VPN access. The core ideas—multi-adapter capture, monitor mode, dumpcap, Flask, gunicorn, systemd, screen—are all standard tools that can be swapped out if you need more performance or a different stack. If you’re a hobbyist, engineer, or researcher looking to sniff Wi-Fi traffic without a bulky laptop, this setup is the next step up from your old USB sniffer.
References
- CWNE88 — Linux Web-Based Wi-Fi Capture (2025)
- Wireshark — dumpcap Manual (2025)
- Raspberry Pi — PoE HAT Documentation (2025)
- Raspberry Pi — Remote Access SSH Documentation (2025)
- Screen — Man Page (2025)
- OpenSSH — scp Manual (2025)
- systemd — systemd.service Manual (2025)
- gunicorn — Documentation (2025)
- Flask — Documentation (2025)
- Python — venv Manual (2025)
- Wireshark — tshark Manual (2025)