Bleak KVM PCIe: Low-Power Remote KVM Card That Beats IPMI and iDRAC
Table of Contents
TL;DR
- Cheap, PoE-powered remote management for headless servers
- Runs on a Raspberry Pi Compute Module 4 inside a PCIe slot
- 1080p @ 60 Hz, 2-3 W idle, 4-6 W remoted
- Not good for low-latency gaming but perfect for admin tasks
- Step-by-step setup, secure by default, and full BIOS/OS control
Why this matters
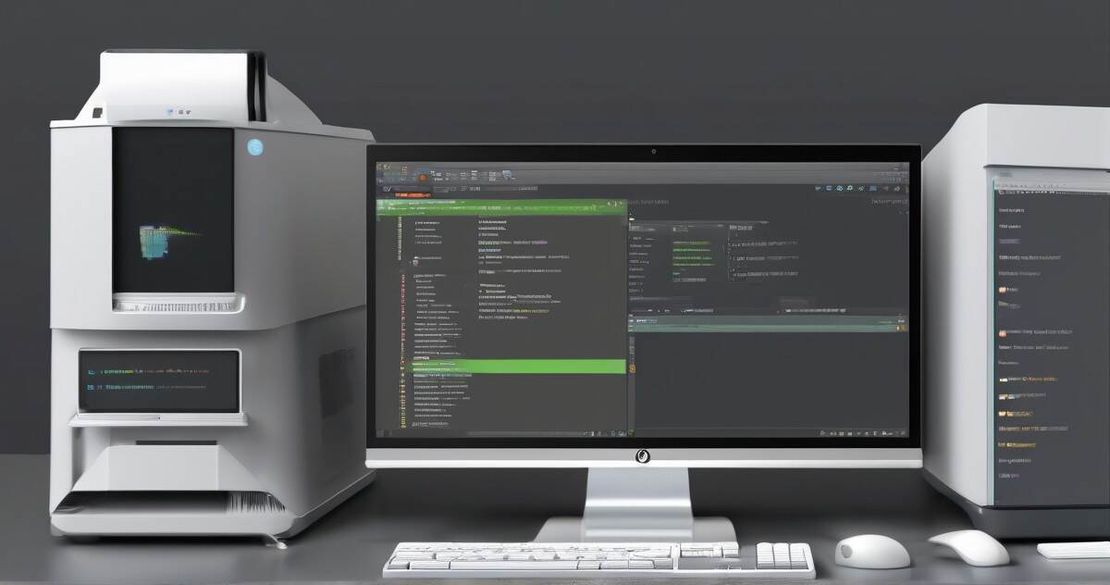
I spent a month wrestling with servers that had no built-in IPMI, and every time the power button was a physical puzzle. The Bleak KVM PCIe cuts that friction. It sits inside a server, pulls power and status from the ATX front panel, and gives me a full keyboard, video, and mouse session over the network. No extra cables, no expensive external boxes, just a tiny card that fits in a PCIe slot. For anyone who owns a rack-mount machine or a 2U test bench, this is the “lights-out” solution that does not cost a small business more than a single Pi.
Core concepts
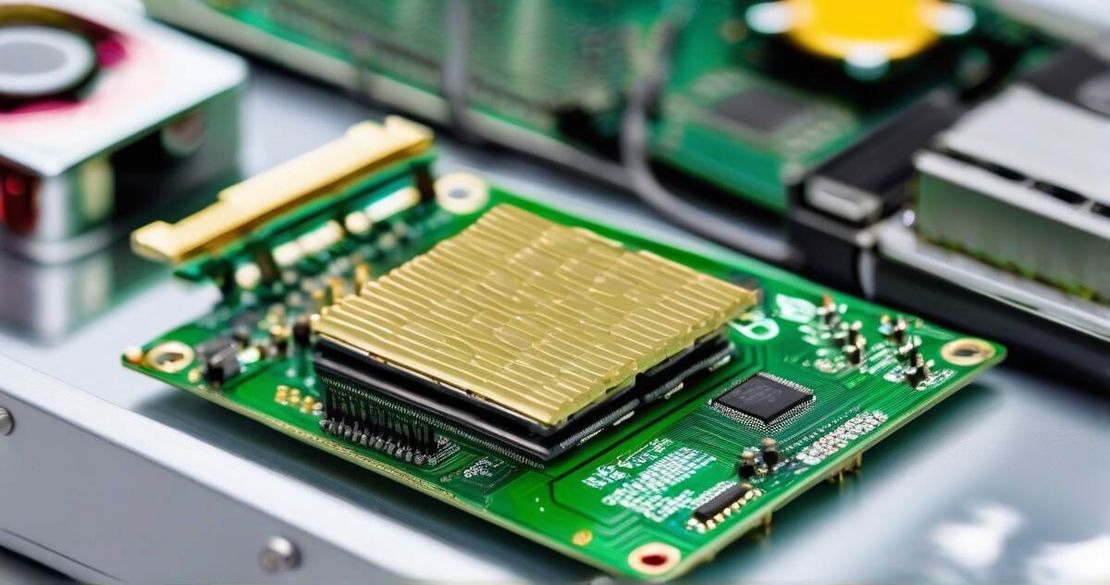
Remote KVM as a PCIe add-in
The card is a standard PCIe x1 add-in, so it can sit next to a GPU or network card without touching the BIOS. The slot is not used for data transfer; the Pi talks to the host over the internal USB header and the HDMI sync connector.
Raspberry Pi Compute Module 4 brain
The CM4 is a 4-core, 1-2 GHz ARM Cortex-A72 processor with 1–4 GB of RAM. It runs a minimal Debian image that ships with the PyKVM daemon. Because the CM4 is low-power and fan-cooled, the whole device stays below 6 W under load. (Raspberry Pi Compute Module 4 – Official Docs (2024))
PoE or USB-C power
A single PoE port (IEEE 802.3af/at) or a USB-C cable supplies 5 V. The PoE connector is an edge-rated 802.3af plug that is compatible with most PoE switches and injectors. This eliminates the need for a separate power supply inside a rack. If you prefer, you can use the USB-C port to plug a wall charger or a USB-C to 5 V adapter.
HDMI input and USB header
The HDMI connector brings the host’s video output directly into the Pi’s frame buffer. The internal USB header lets the Pi see the host’s keyboard and mouse connectors, as well as the USB controller that drives the boot process. Together, they provide full KVM functionality without any firmware modification on the host.
On-screen keyboard, macro recorder, and remote screenshot
When a server has no monitor, the web UI provides a virtual keyboard and a recorder that captures a sequence of key presses. The screenshot button grabs a still image of the host screen and streams it to the browser. These features are essential for troubleshooting BIOS bugs or recovering from a headless lock-out.
Remote BIOS, OS reinstall, and ISO mounting
PyKVM can toggle the ATX power button, reset, and mount a USB-flash drive that contains an ISO. By flashing the ISO to the host’s virtual CD-ROM, you can reinstall an OS or flash a new firmware without physically touching the server.
Low-power and high-latency profile
The device uses 2-3 W idle and 4-6 W when remoted in. The latency is 100 – 300 ms, which is acceptable for configuration changes but not for FPS gaming. This makes it ideal for server admins and test engineers.
Gigabit Ethernet port
It has a gigabit Ethernet port for high-speed network access.
Feature comparison
| Feature | Bleak KVM PCIe | TinyPilot | IPMI / iDRAC |
|---|---|---|---|
| Cost | <$200 (approx) | — | — |
| Power | 2-3 W idle, 4-6 W remoted | — | — |
| Latency | 100-300 ms | — | — |
| Remote BIOS | Yes | — | — |
| PoE | Yes | — | — |
| HDMI output | 1080p@60Hz | — | — |
| Default credentials | admin/admin | — | — |
| Security | Open-source | — | — |
How to apply it
1. Gather components
- Bleak KVM PCIe card
- PoE injector or a PoE-enabled switch
- USB-C 5 V charger (optional)
- HDMI cable (or VGA-to-HDMI adapter if the server has only VGA)
- Short USB-C or USB-A cable for optional flashing
- Power button, reset, LED jumper wires (included in the kit)
2. Pick the right slot
Choose a free PCIe x1 slot in a 2U or 4U chassis. The card is 2 inches tall, so it fits under most 80 mm rear-panel rails. It won’t touch a graphics card or a NIC.
3. Wire the front-panel pins
The kit includes a 20-pin header that plugs into the server’s ATX power connector. The mapping is:
| Pin | Function | Description |
|---|---|---|
| 1 | Power button | Momentary push |
| 2 | Reset button | Momentary push |
| 3 | Power LED | Drives status light |
| 4 | Status LED | Indicates Pi activity |
Solder the wires to the corresponding pins or use the provided jumpers. This gives the Pi a way to power-cycle the host and read its status.
4. Connect HDMI
If the server has an HDMI output, use a short cable. If it has only VGA, use the VGA-to-HDMI adapter that comes with the card. The adapter is a passive converter that pulls the analog signal into the Pi’s HDMI input.
5. Connect USB
Insert the 4-pin USB header into the card’s internal connector. This gives the Pi a direct USB bus to the host’s controller, which is needed for keyboard, mouse, and boot-drive operations.
6. Power the card
Insert the PoE injector into the card’s PoE port and connect it to a PoE-enabled switch. Alternatively, plug a USB-C 5 V charger into the USB-C port. The OLED display will show the IP address once the Pi boots.
7. Boot and login
Turn on the server. The card boots the CM4, downloads the latest PyKVM image from the web, and displays the IP on the OLED. Open a browser on the same network, enter the IP, and log in with the default credentials admin/admin. Change the password immediately.
8. Secure the device
Enable HTTPS by generating a self-signed cert in the UI. Add a firewall rule on the server to block port 80/443 if you don’t want external access. Keep the PyKVM package updated with apt update && apt upgrade.
9. Test BIOS changes
From the UI, press the “Power” button icon to reset the host. Use the on-screen keyboard to navigate the BIOS. Save and exit. This proves that the card can control the host’s firmware.
10. Reinstall OS
Insert a bootable ISO on a USB drive, then click “Mount ISO” in the UI. Reboot the host. The card will boot from the ISO and show the installer. Once done, unplug the ISO and reboot normally.
Pitfalls & edge cases
Gaming latency
The 100-300 ms latency is fine for configuration but will make FPS games laggy. If you need low-latency remote gaming, a dedicated GPU-based KVM or a low-latency capture card is preferable.
Security
The default admin/admin credentials are insecure. Always change them on first login. The device does not enforce HTTPS by default, so consider setting up a reverse proxy with TLS.
Power status detection
The Pi reads the power-LED pin. If the server’s front-panel wiring is non-standard, you may need to reverse-wire the pins or disable the power-detect mode in the config file.
PoE compatibility
The card supports 802.3af (15 W) and 802.3at (30 W). A 15 W PoE switch may not supply enough power during heavy CPU load. Use a 802.3at injector or a USB-C power supply for consistent operation.
Firmware updates
Updates must be pulled via SSH or the UI. If the Pi loses connection, you can reboot it by resetting the host power button. The card will re-boot automatically.
Hardware limitations
The card has a single HDMI input; it does not support mirroring to a second display. The USB header supports only two devices. For more peripherals, connect them to the host’s internal USB bus.
Quick FAQ
How does the Bleak KVM PCIe detect the host server’s power status?
It reads the power-LED pin on the ATX front-panel header. When the host is on, the LED is high; when off, it’s low. The Pi uses this signal to decide whether to show a login prompt or a power-off screen.Does the card support multiple monitors?
The HDMI input is single-channel. The card cannot mirror to a second monitor; it only passes the signal from the host’s graphics output.How do I install it on a server without an HDMI output?
Use the VGA-to-HDMI adapter that ships with the card. It converts the analog VGA signal to HDMI for the Pi.Is PoE stable on all PoE standards?
The card supports 802.3af (15 W) and 802.3at (30 W). If you have an older PoE switch that delivers less than 15 W, the card may lose power when the host is idle.What security measures exist beyond the default credentials?
The web UI supports HTTPS, but you must enable it manually. The device also logs all key-presses to a file, so monitor the logs if you suspect tampering.How do I update the firmware?
SSH into the Pi (ssh admin@) and run git pull && sudo systemctl restart pykvm. The card will reboot and use the new firmware.
Conclusion
If you run servers without native IPMI, the Bleak KVM PCIe gives you the same “lights-out” control without the cost of external hardware. Its low power draw, PoE support, and simple setup make it ideal for headless systems, test benches, and small data-center racks. It is not a gaming peripheral, but for admins who need to reboot, reinstall, or tweak BIOS settings, it is a sweet spot. Remember to change the default password and keep your firmware up to date.
References
- Bleak KVM PCIe — Official Site (2024) – https://blikvm.com/
- Raspberry Pi Compute Module 4 – Official Docs (2024) – https://www.raspberrypi.org/documentation/hardware/computemodule4/
- BliKVM GitHub – Source Repo (2024) – https://github.com/blikvm/blikvm